To plan a content shoot day that fills a month of posts, decide what the month needs to say first, then turn that into a written shot list, pick a quiet two- to four-hour window, prepare the space and the people the day before, and film every item from several angles in both vertical and horizontal. Most of the work happens before the camera comes out. A good plan is what turns one visit into weeks of reels, photos and stories instead of a handful of clips you cannot use.
Here is the plan we follow with New York restaurants and shops, step by step.
Start with the month, not the camera
Before you think about shots, write down what is coming up in the next four to six weeks. A new menu item, a catering push, a holiday, school starting, a slow weekday you want to fill. Each of those needs at least one post, and each post needs footage. If you skip this step you end up with beautiful clips of things you are not trying to sell.
Then add the evergreen content: your best-sellers, the kitchen or workshop at work, the team, the space. If you are a restaurant and not sure what a normal week of posts looks like, our guide on what to post on Instagram each week gives you a simple pattern to plan against.
Write the shot list
The shot list is the single most important page of the day. Keep it simple: one line per shot, grouped by where it happens, so you are not walking back and forth.
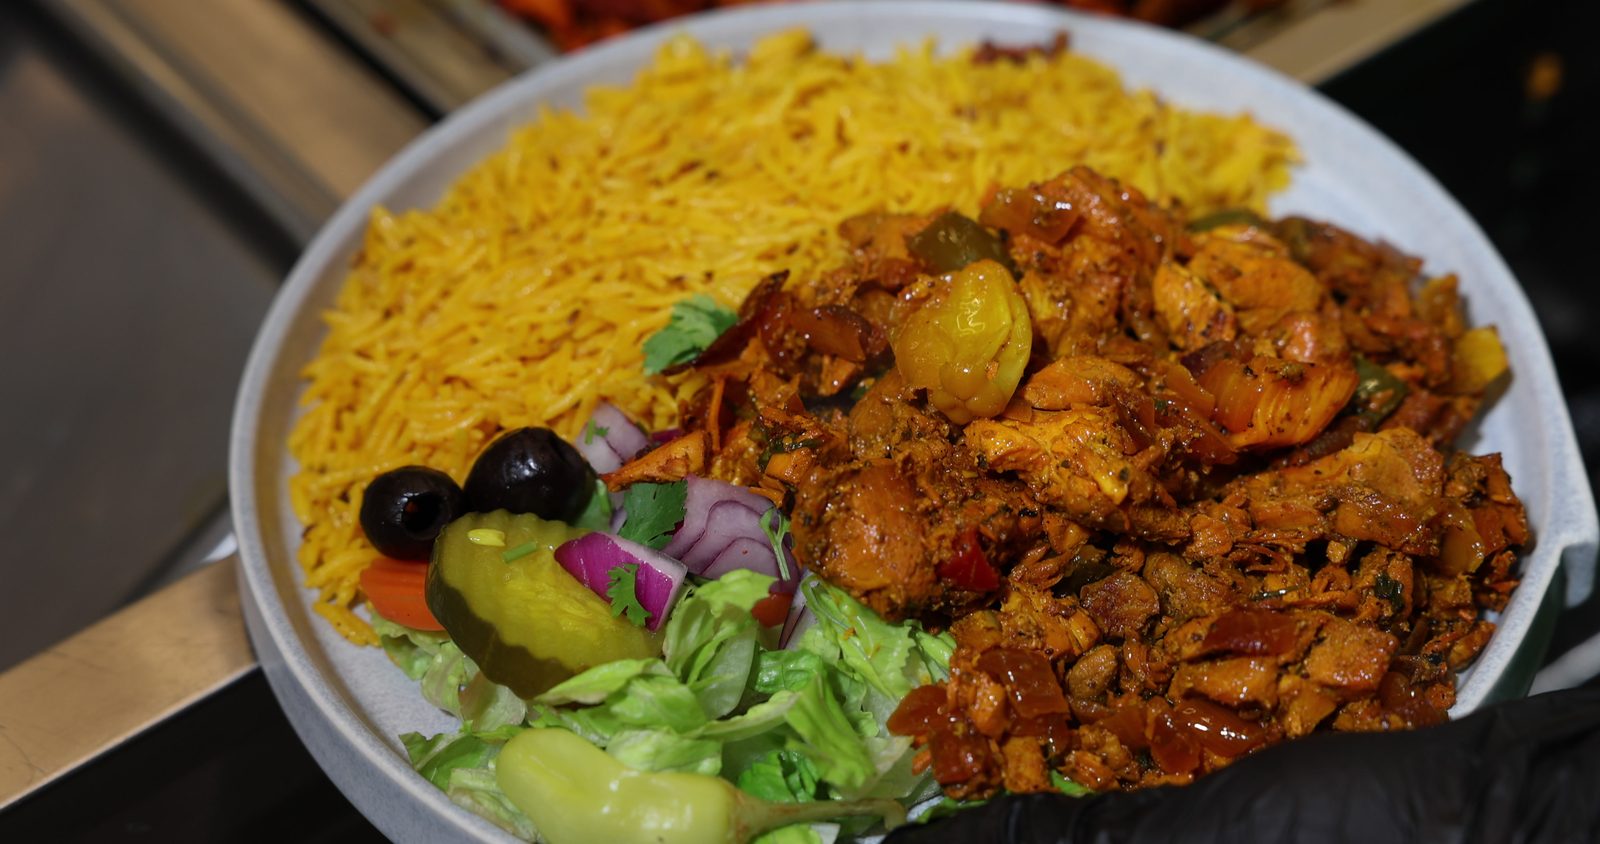
- Hero items: each signature dish or product, finished and styled, from overhead, at a low angle and close up.
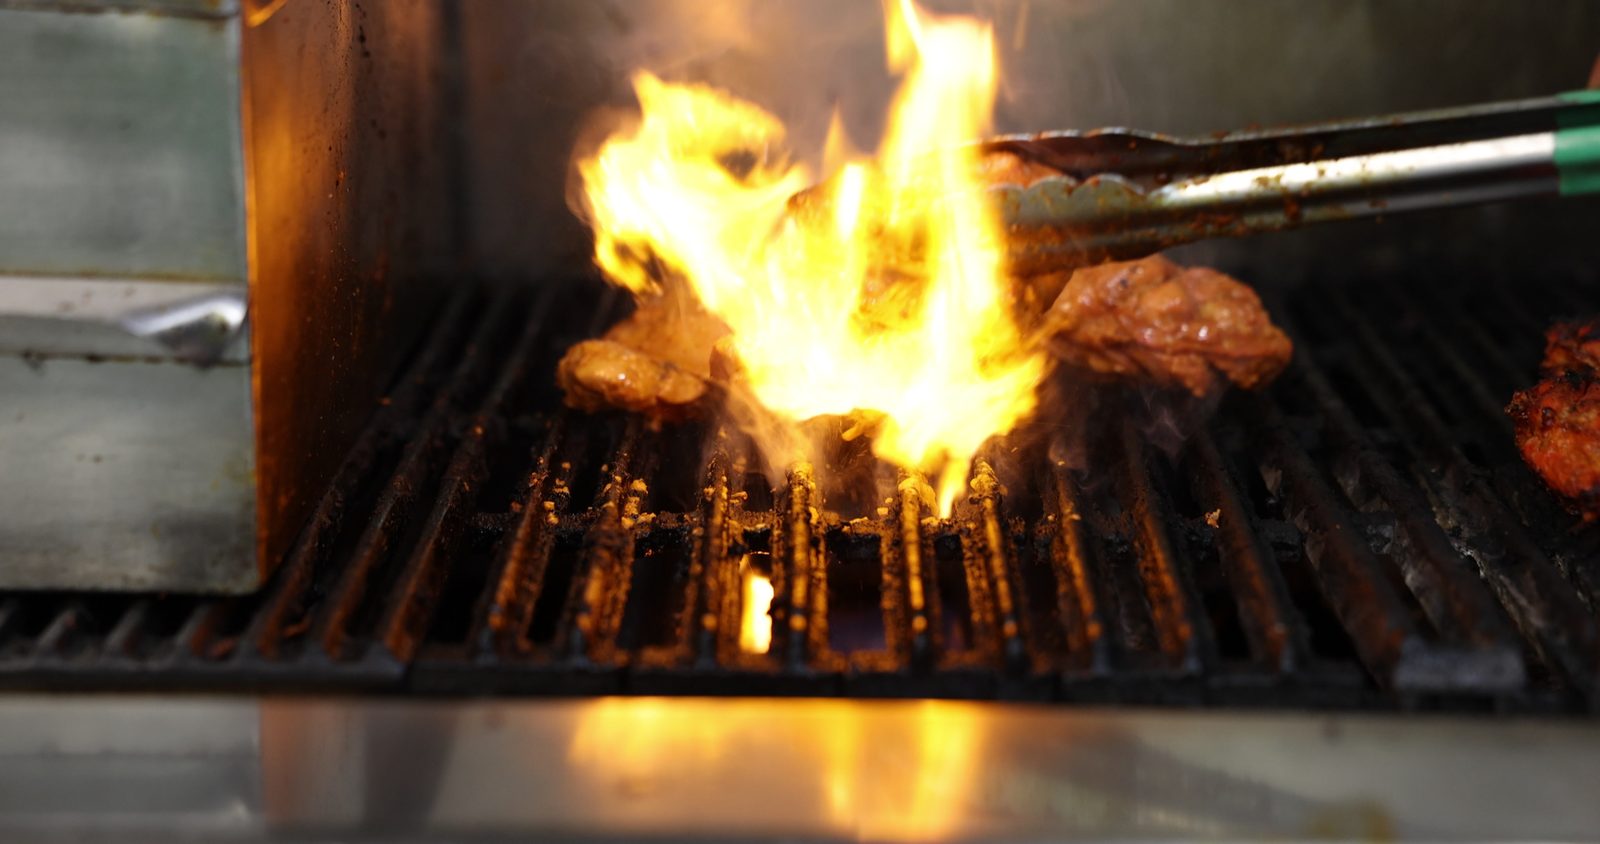
- Process: the same items being made, poured, wrapped or plated, filmed as short clips you can cut into reels.
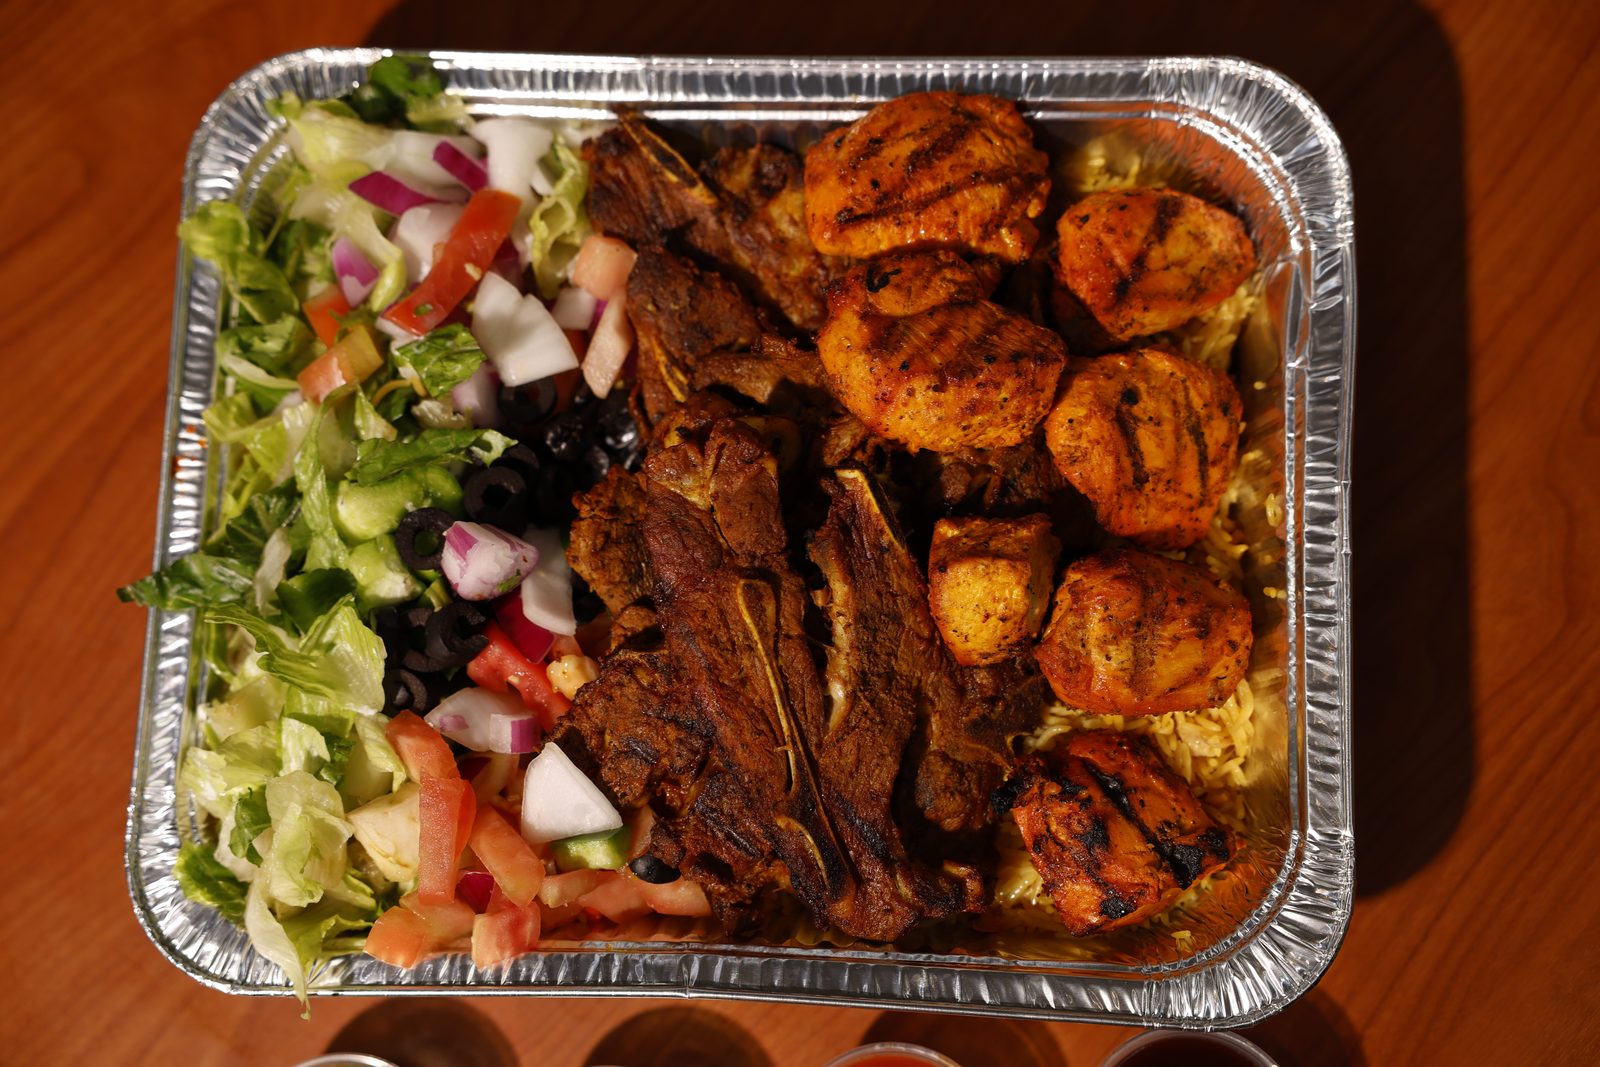
- Catering or large orders: full trays or bundles, shot from above, if you sell them.
- The space: the storefront, the counter, the seating, and any wall or corner customers like to photograph.
- People: the owner and team at work, a greeting at the counter, hands handing over an order.
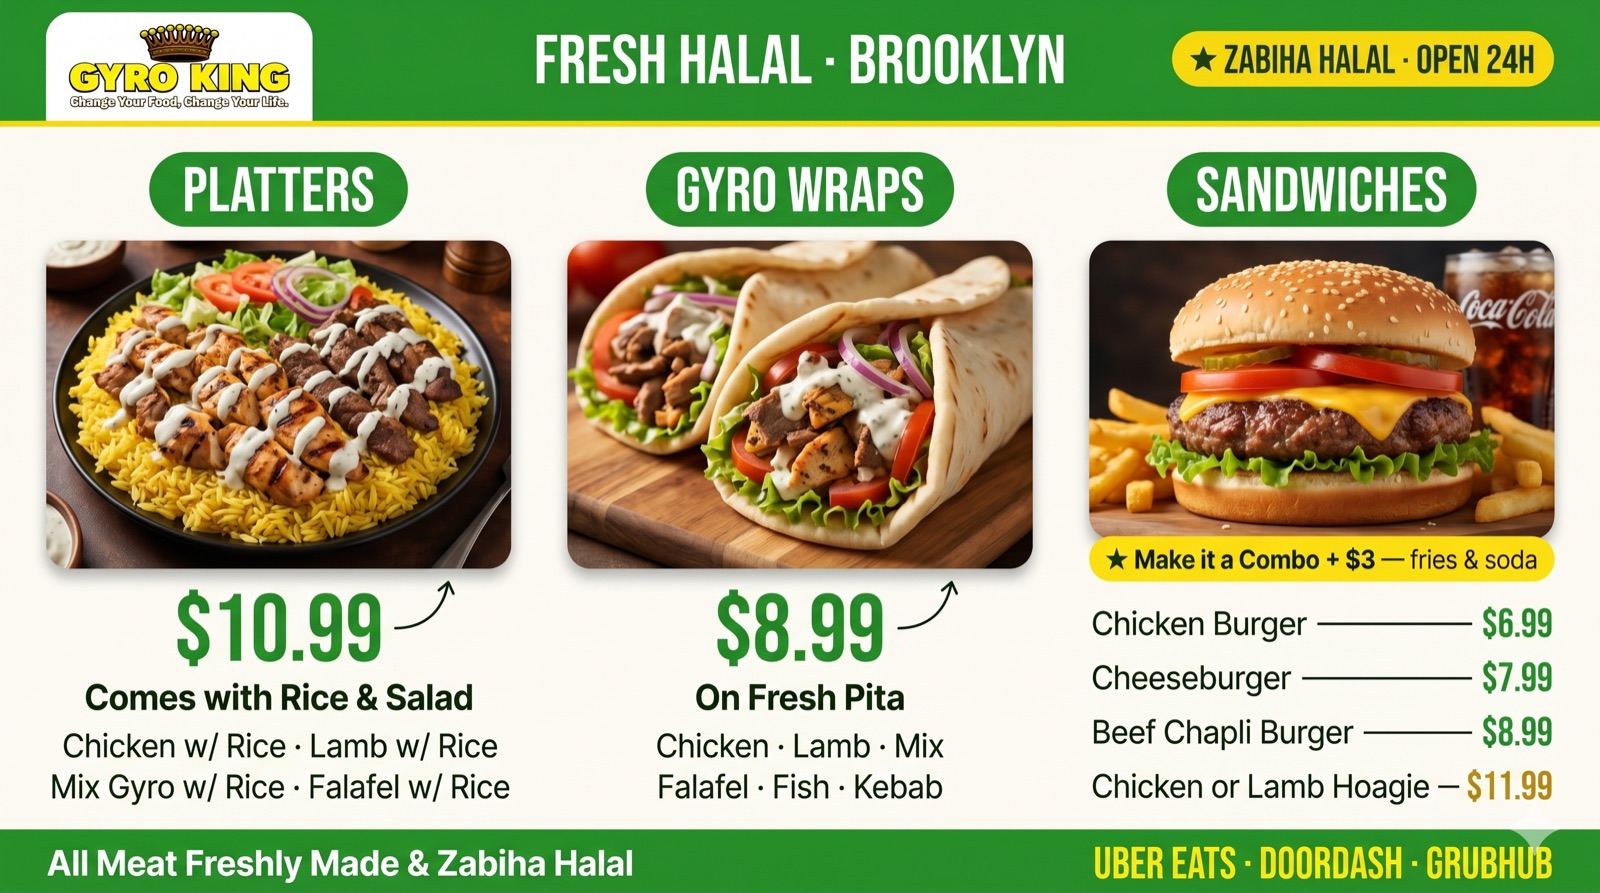
- Details for stories: signage, packaging, the menu board, a quick walk from the door inside.
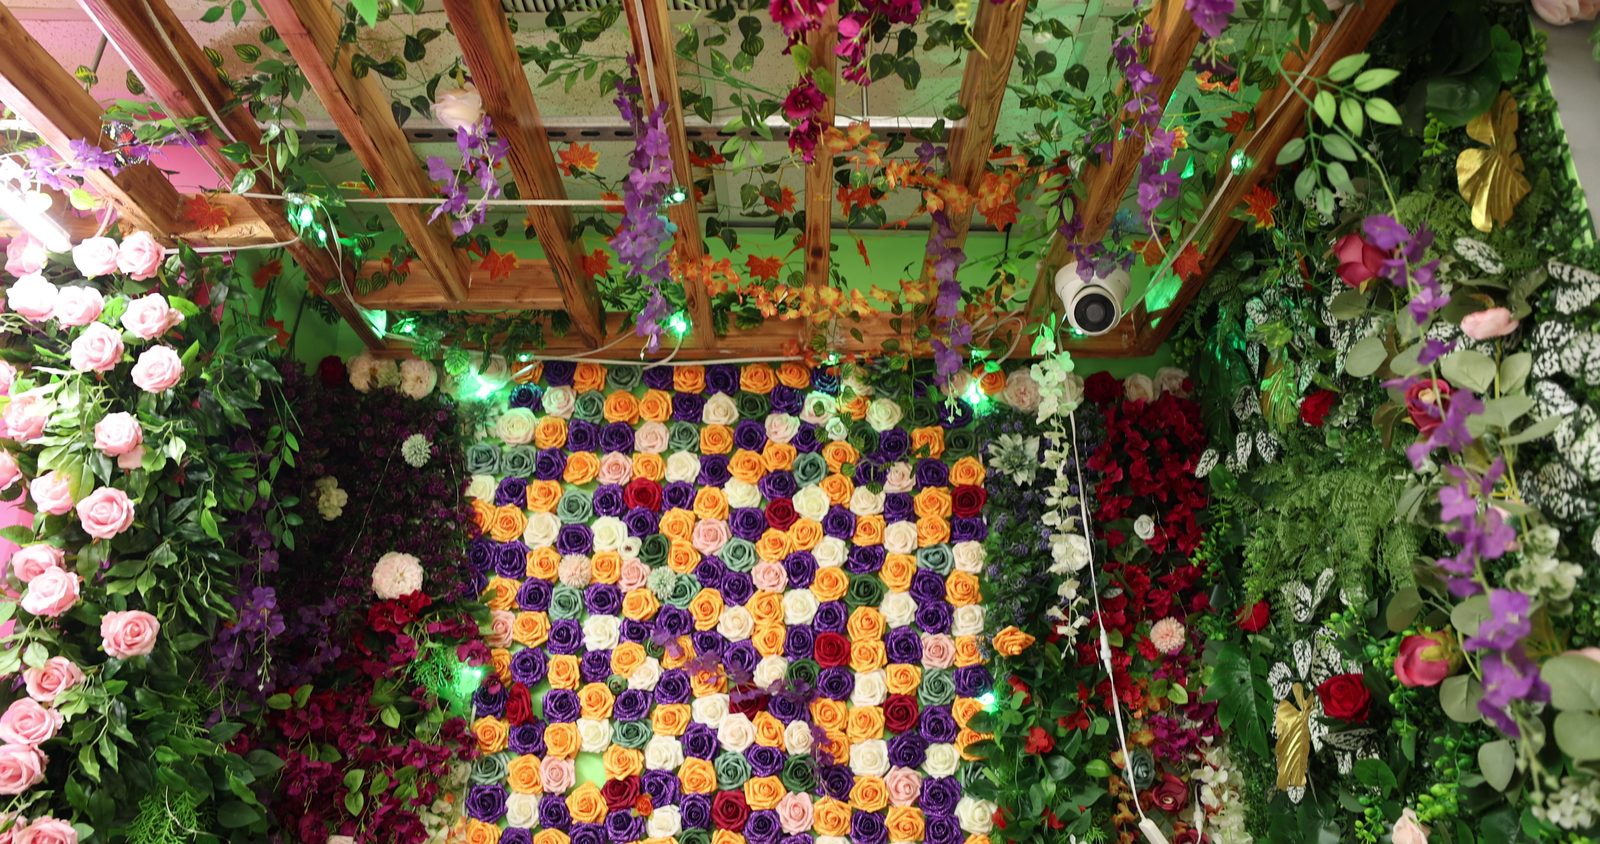
Pick the time and prepare the space
- 01
Choose a quiet window
Before opening or between the lunch and dinner rush works for most restaurants. For shops and studios, pick your slowest morning. A few focused hours is usually enough for a month of content if the list is ready.
- 02
Plan around daylight
Note which tables or corners get the best window light at that time of day, and plan your food or product shots there.
- 03
Clean and clear
Wipe the counters, glass and menu boards, tidy the shelves and remove clutter from every background on the list.
- 04
Prep the items
Make sure every dish or product on the list is in stock and that someone is free to prepare them one at a time, fresh, as they are needed.
- 05
Brief the team
Tell staff what is happening, who will be on camera, and what to wear. Ask permission from anyone who will appear, and never film customers without it.
Plan the shoot so the kitchen never has to stop for the camera. The camera should wait for the food, not the other way round.
On the day: shoot for every format
Film every important item twice: vertical for reels and stories, horizontal for your website, Google profile and any screens in the store. Take still photos as you go, not as an afterthought. For each dish or product, get one clean hero shot, one shot in use or being served, and one tight detail. That gives you three or four posts from a single item.
Record the real sound wherever you can: the sizzle on the grill, a knife on the board, the bag being sealed. It makes reels feel alive and costs nothing. Tick each line off the list as you go, and before you pack up, check the list again for anything missed.
This is how we shoot for Gyro King and Ustaad Smash Grill, and how we covered a Carvel, Cinnabon and Auntie Anne's store opening: one planned visit, a written list, and footage for many uses from the same day.
After the shoot: turn it into a calendar
- Sort the footage into folders that match the shot list, so anyone can find a clip later.
- Edit the reels and pick the photos first for the dates that matter most, such as launches and holidays.
- Lay everything out on a simple calendar for the month, then schedule it so posting does not depend on a busy day.
- Add the best photos to your Google Business Profile and website, not just social media.
- Keep a note of what was missing or did not work, and add it to next month's list.
Repeat the shoot every month or every season. The second one is always faster, because you already know where the light is, who needs to be there and which shots performed. If you would rather hand the planning and filming to someone else, that is what our content service does. Cost depends on how much you need, so see our pricing or get in touch.