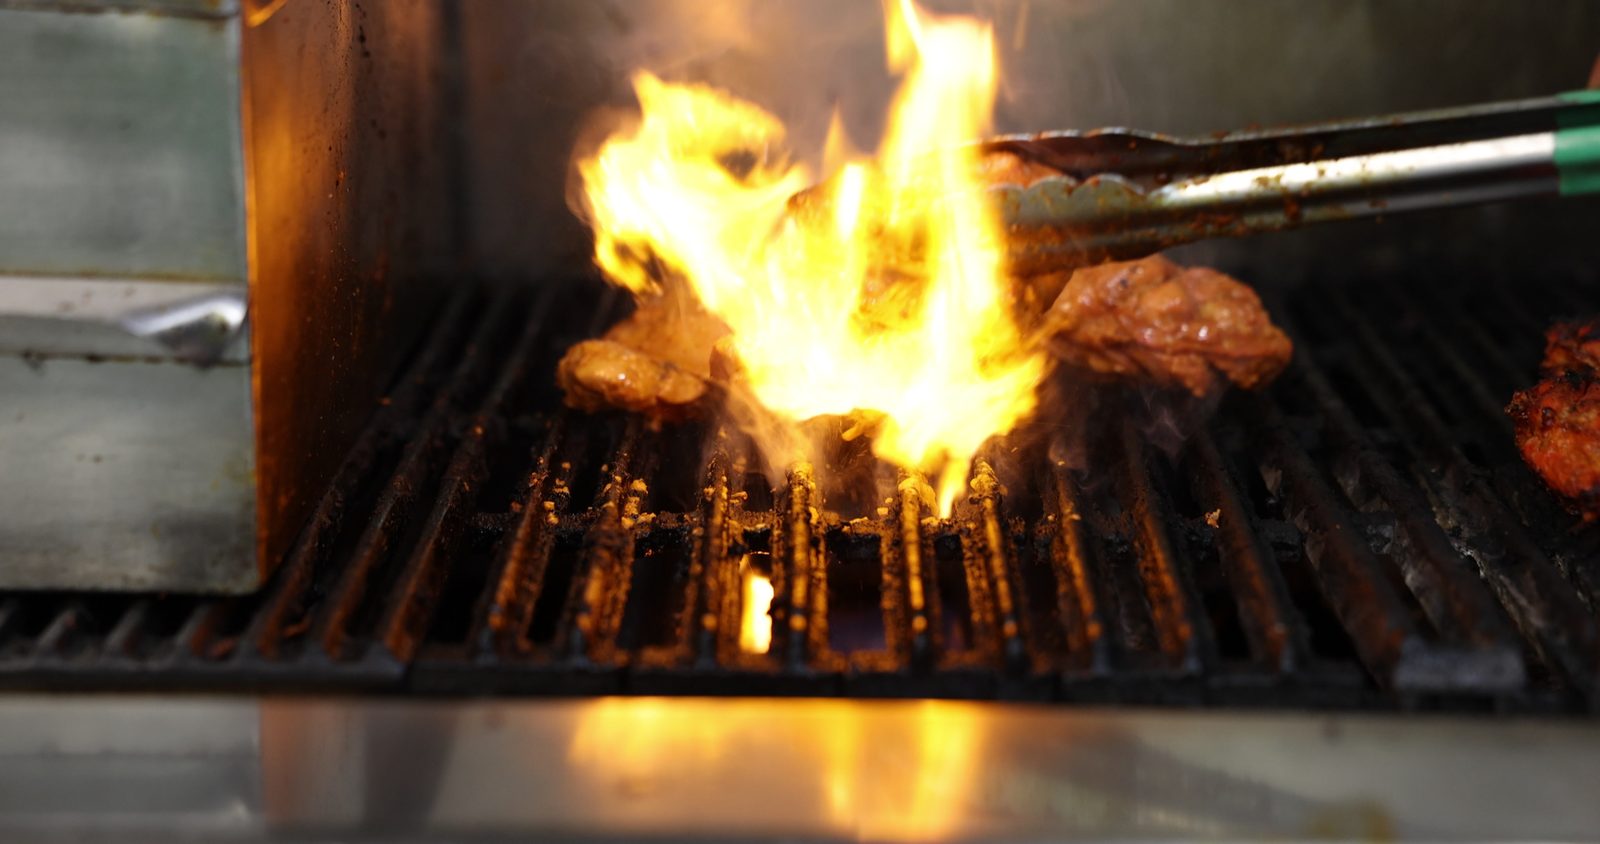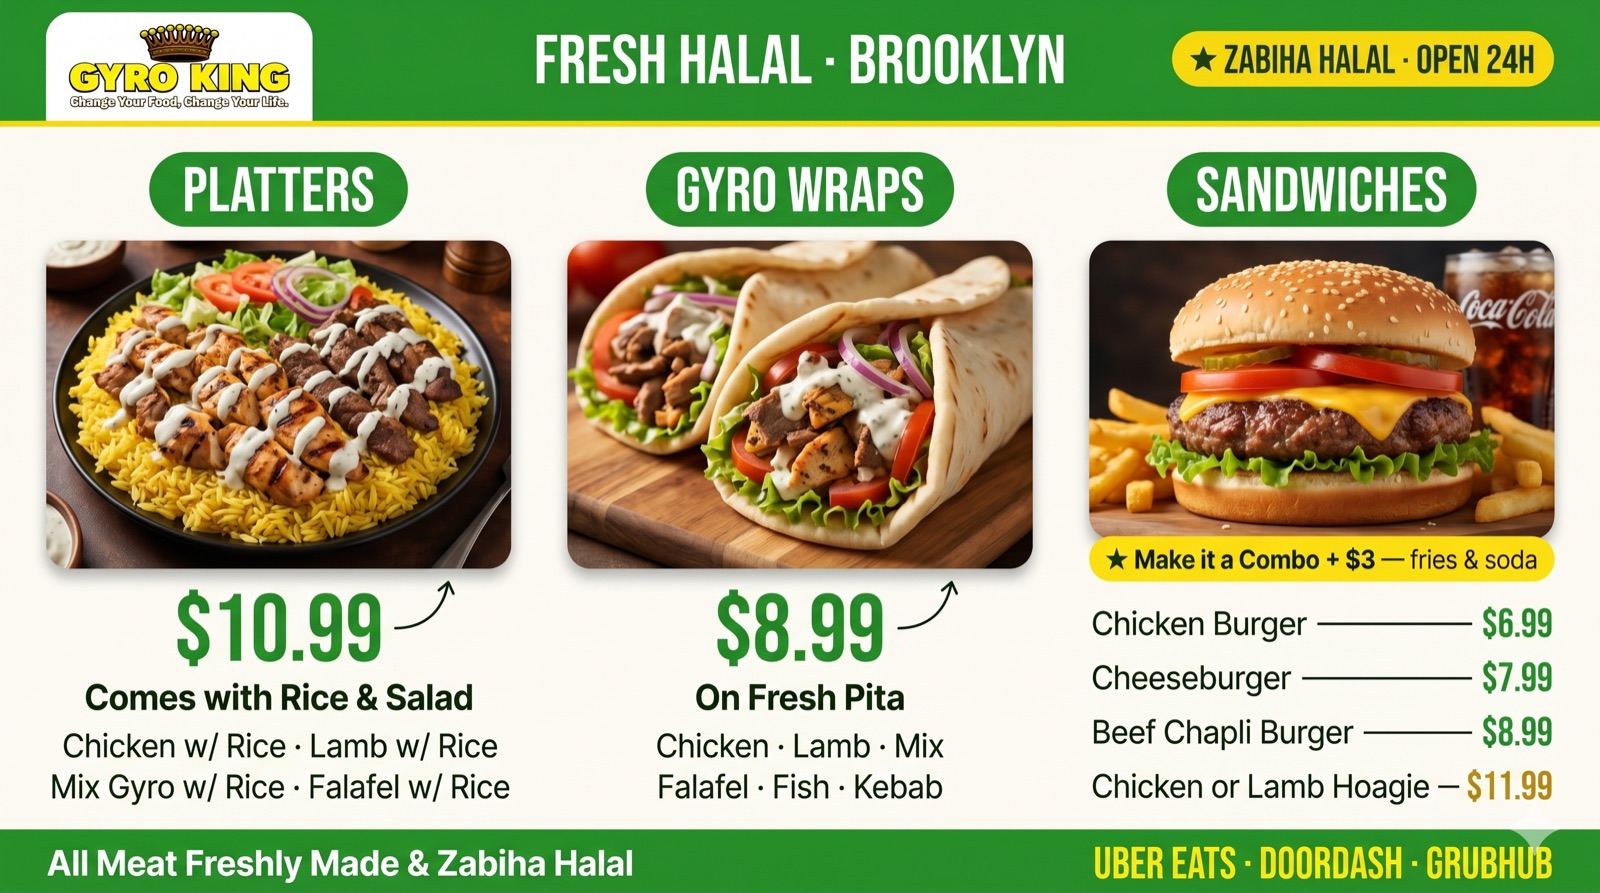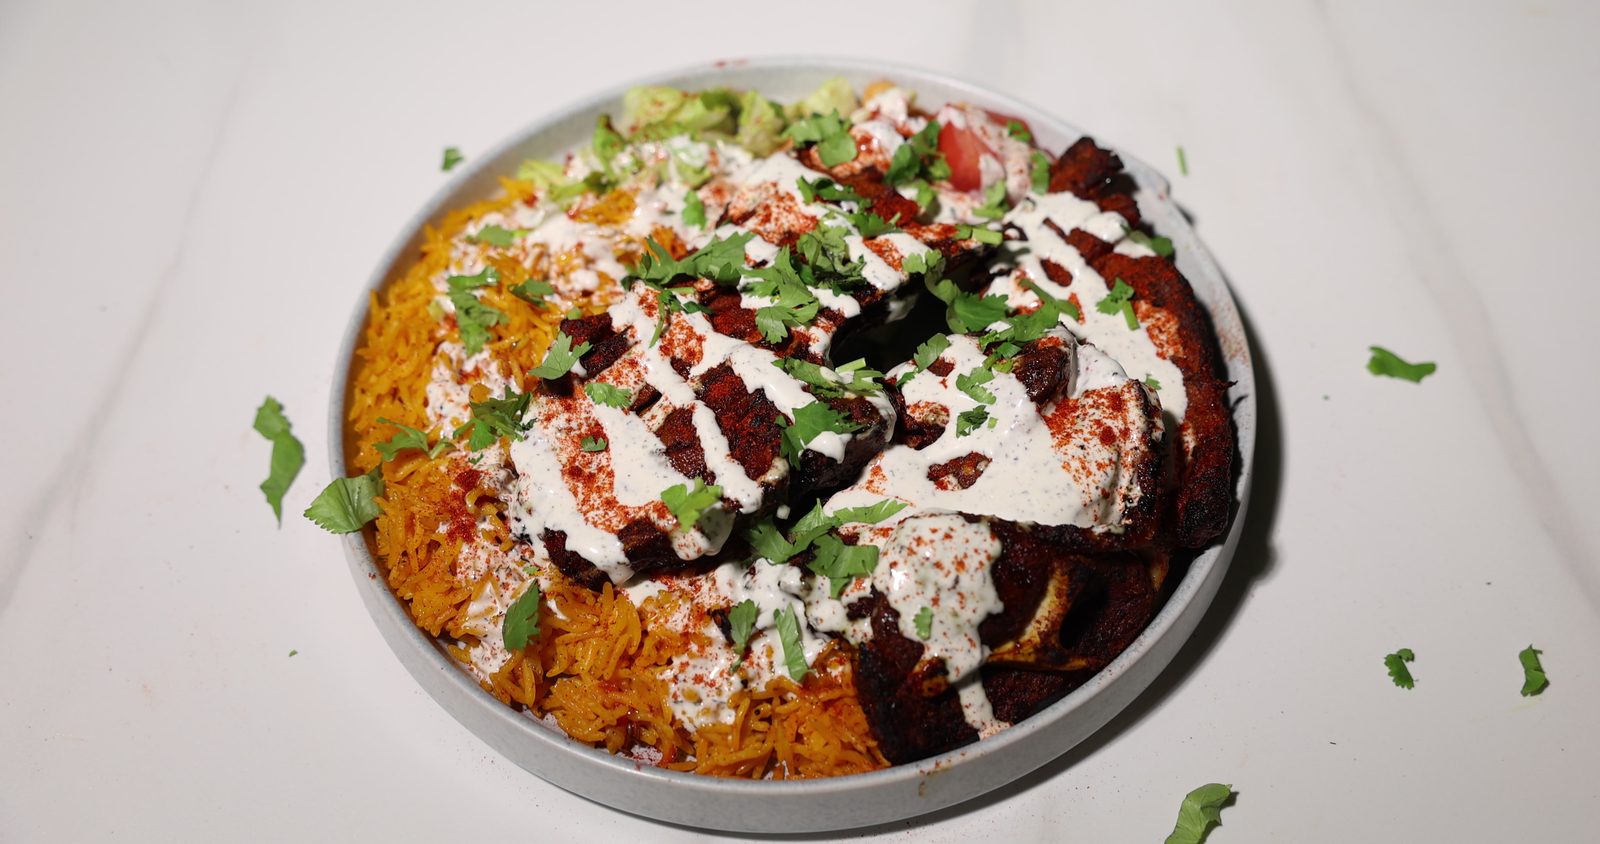
Good restaurant food photos come down to four things: soft daylight, the right angle for each dish, food photographed the moment it is plated, and a clean, simple background. Move the plate next to a window, turn off the overhead kitchen lights, shoot flat dishes from above and tall ones from the side, and take the photo before the food has had time to cool or wilt. Edit lightly so it still looks like what the customer will be served.
These are the same habits we use on restaurant shoots in New York, written so you can use them with your own phone today.
Light is most of the job
Most bad food photos are bad because of the light, not the camera. Kitchen ceiling lights are harsh, often yellow or green, and they come from above, which flattens everything. Daylight from the side makes food look fresh and gives it shape.
- Put the dish on a table near a window, with the light coming from the side or slightly behind.
- Turn off the overhead lights so you are not mixing warm bulbs with cool daylight.
- If the sun is direct and harsh, soften it with a thin white curtain or a sheet of baking paper taped to the window.
- Hold a piece of white card on the shadow side to bounce a little light back in.
- Skip the phone's flash. It makes sauces shine like plastic and kills the texture.
Pick the right angle for each dish
Every dish has an angle that shows it best. Choose one on purpose instead of shooting from wherever you happen to be standing.
- From directly above: platters, rice plates, bowls, pizzas, catering trays and spreads of several dishes. Anything where the layout is the point.
- From the side, at table height: burgers, stacked sandwiches, layered desserts and anything with height.
- From a three-quarter angle, like a seated diner: most plated meals, wraps and drinks in a glass.
- Close-up: one detail that makes people hungry, like the char on a piece of chicken or sauce running down a wrap.
Once you find the angle that works for a dish, note it down and use it every time. Your menu, website and delivery listings look far more professional when every plate is shot the same way, from the same height, on the same surface. It also makes reshooting easy when a recipe or a plate changes, because you only have to match the photos you already have.
Plate it for the camera
- 01
Use a fresh plate and food from the pass
Have the kitchen make the dish just for the photo and bring it straight out. Rice dries, salad wilts and sauce sets within minutes.
- 02
Wipe the rim
A smudge of sauce on the edge of the plate is the first thing the eye finds. Keep a clean towel ready.
- 03
Sauce and garnish go on last
Add the white sauce, herbs or a squeeze of lemon right before you shoot, so they look fresh rather than soaked in.
- 04
Choose a plain surface
A white table, plain wood or a dark board. Patterned tablecloths and busy backgrounds pull attention away from the food.
- 05
Add one or two props, not ten
A sauce cup, a fork, a napkin. Enough to suggest a meal, not so much that people cannot tell what you are selling.
Shoot the grill, not just the plate
Finished plates sell the dish. Kitchen shots sell the restaurant. Chicken charring over the grill, bread coming off the heat or a tray being filled tells people the food is made fresh, by real cooks, in a real kitchen. These photos and clips are some of the most useful you can have for Instagram, your website and your Google profile.
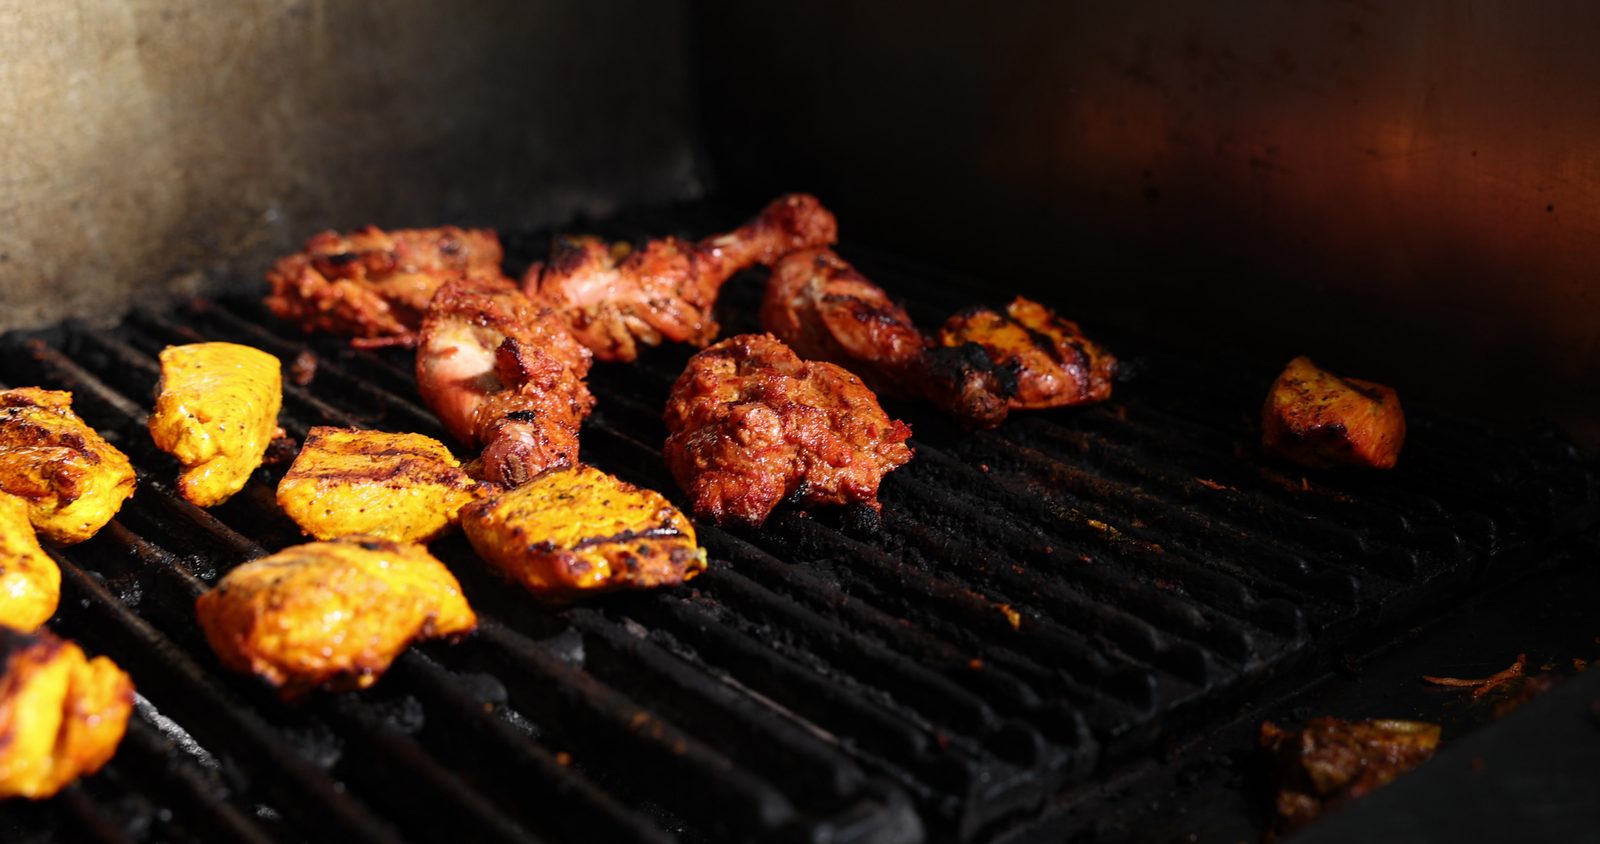
Shoot during a quiet hour, not the lunch rush, so the cook can slow down for you and nobody gets hurt. Ask them to repeat the best moment a few times, and use burst mode to catch the flame or the toss at its peak.
Phone settings and light editing
- Wipe the lens first. A greasy kitchen lens makes every photo hazy.
- Turn on the grid and keep the plate or the table edge straight.
- Tap on the food to focus, then slide the brightness down a little so the highlights are not blown out.
- Move closer instead of zooming in, unless your phone has a real zoom lens.
- When editing, adjust brightness, warmth and a little contrast, and straighten the crop. Skip heavy filters.
Photograph the dish the way it looks when it reaches the table at its best, and never better than it really is.
When to bring in a photographer
Phone photos are perfect for stories and day-to-day posts. For the photos that represent your restaurant for months, such as your printed menu, TV menu boards, website, delivery app listings and catering menu, it is worth planning a proper shoot. One planned session can cover every dish on the menu, the kitchen at work and the dining room. That is how we work with Gyro King, where the same shoots feed their menus, menu boards and reels. When you are ready, take a look at our restaurant content page to see what a shoot includes.